How to Backup WordPress Files and Database on Synology NAS
Although WordPress is highly secure, this doesn’t mean your site is immune to issues that may cause you to lose your content when you host your website from home on a Synology NAS. Failing to backup your files means you could lose them all in the event of a server outage, hack attack, or system error. In addition to helping you avoid a catastrophe, backing up files can also save you time and eliminate frustration. For example, if you make a mistake while working on your site and can’t find the source of that mistake, you can simply restore a recently backed-up version of your site through the Hyper Backup solution by Synology.
Your WordPress database contains every post, every comment and every link you have on your blog. If your database gets erased or corrupted, you stand to lose everything you have written on your site. There are many reasons why this could happen, and not all are things you can control. With a proper backup of your WordPress database and files you can quickly restore things back to normal on your Synology NAS. If you’re looking for a way to backup a WordPress site for free, you just need to try Hyper Backup.
You don’t need to buy more plugins for backup: they’re expensive and useless. Right now, Synology NAS is the best solution for free hosting from home, and it comes together with the greatest solution for backing up your WordPress site: Hyper Backup.
For security i have scrubbed out sensitive data.
STEP 1
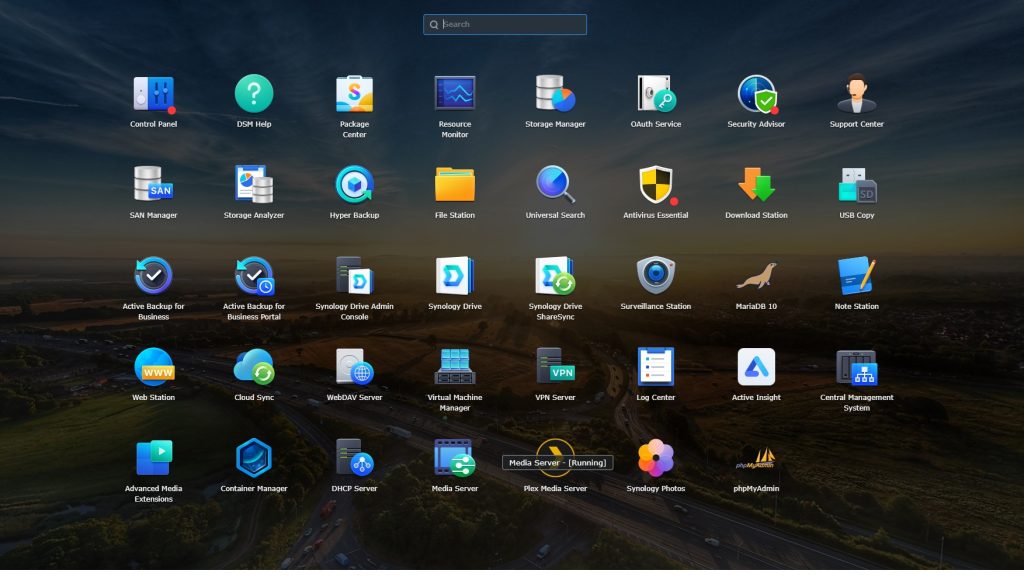
First step, Load up main menu
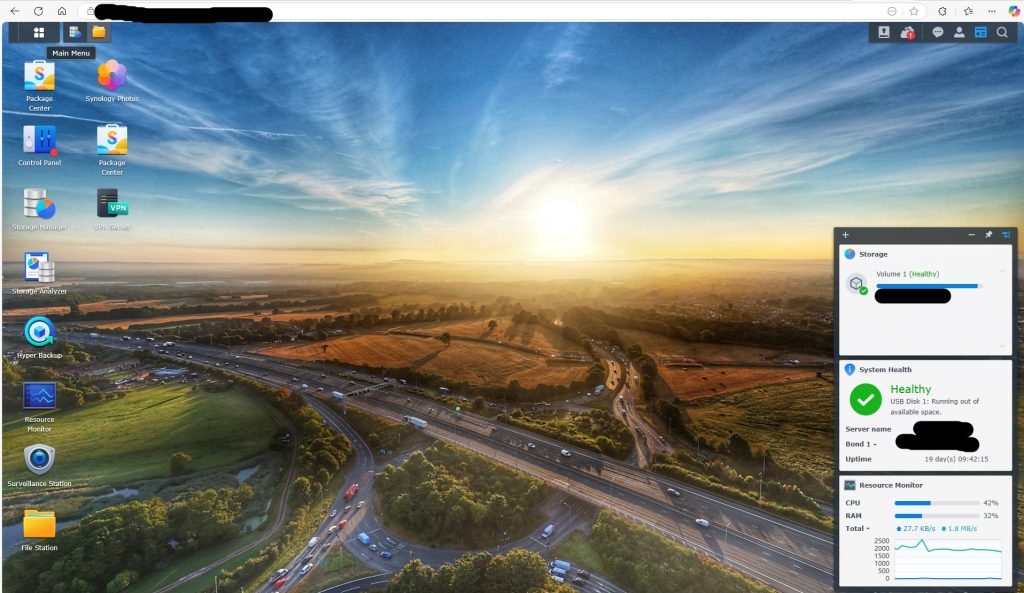
or in my case press Hyper backup on your desktop, skip to Step 3
STEP 2
Second step is to select Hyper Backup, if it is not installed, install Hyper Backup through Package Center.
STEP 3
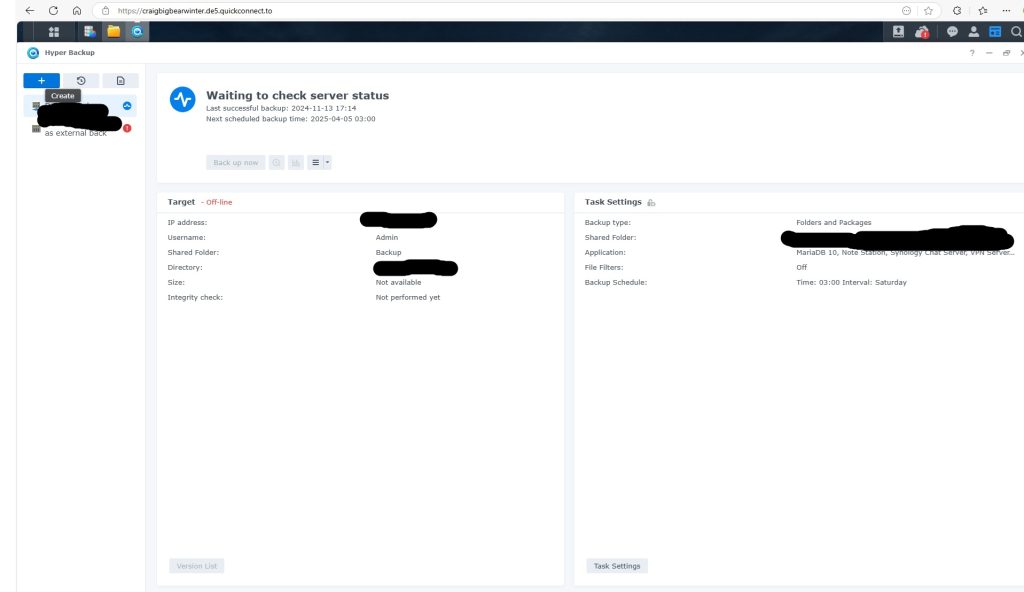
Select the blue box lop left (Create). this is to create a new backup task
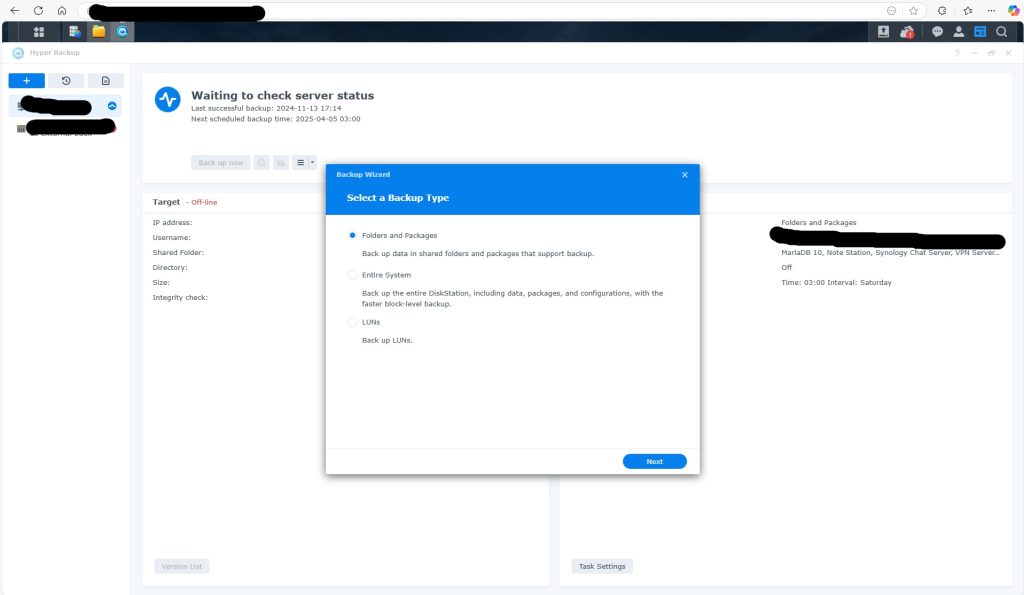
STEP 4
Now you will be presented with what backup you want. for this instance we are going to backup folders and packages
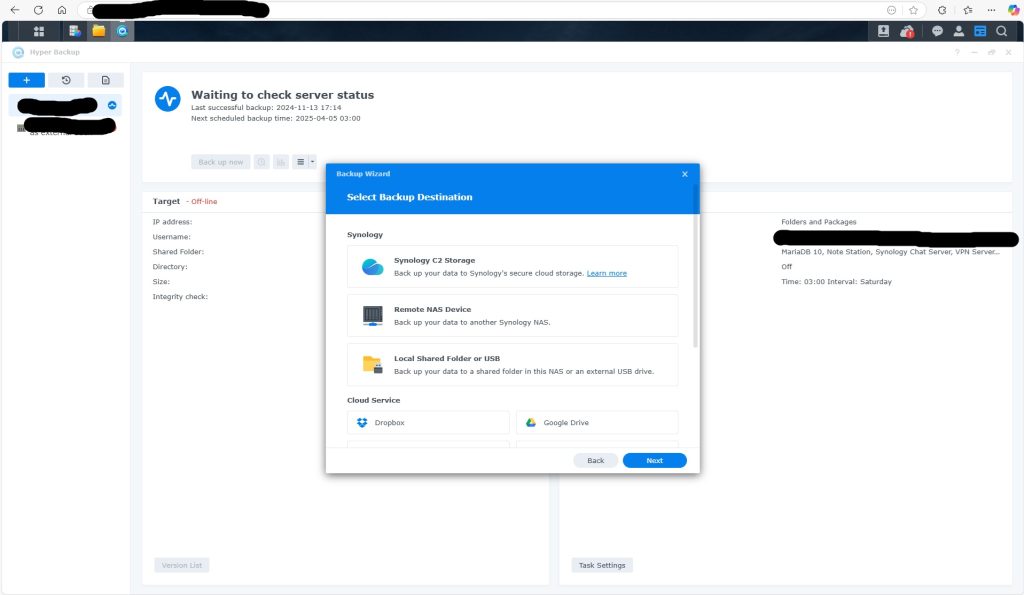
STEP 5
For this example we are Going to Backup to a local USB drive but there is many options here to choose from including Synology C2 Cloud, another Nas or even Google Drive for example.
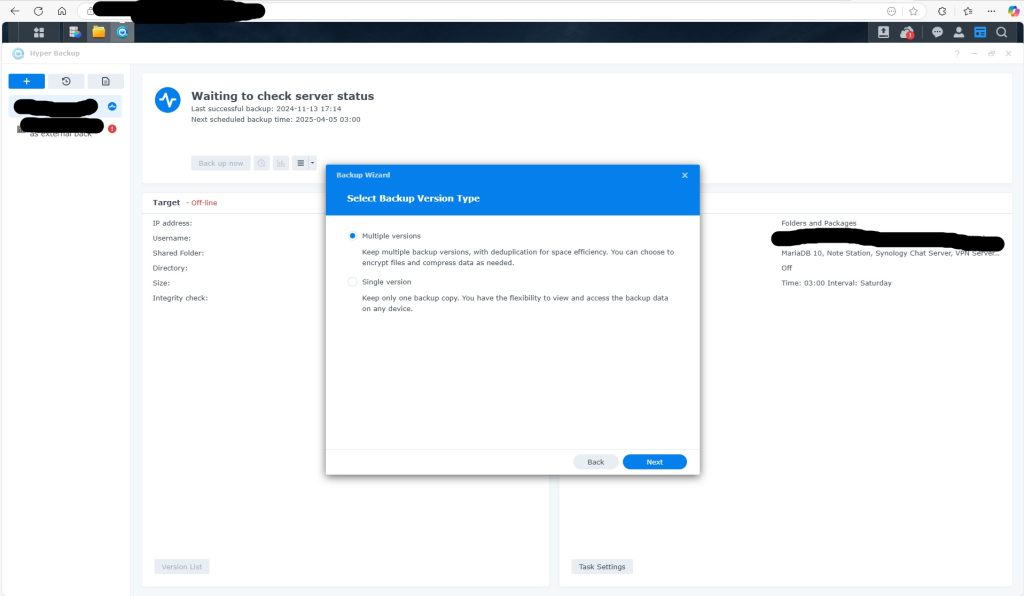
STEP 6
Here you get the option to created multiple Versions of the same backup, this is good if you do daily backups and need togo back to last week for example. but we are going todo single version.
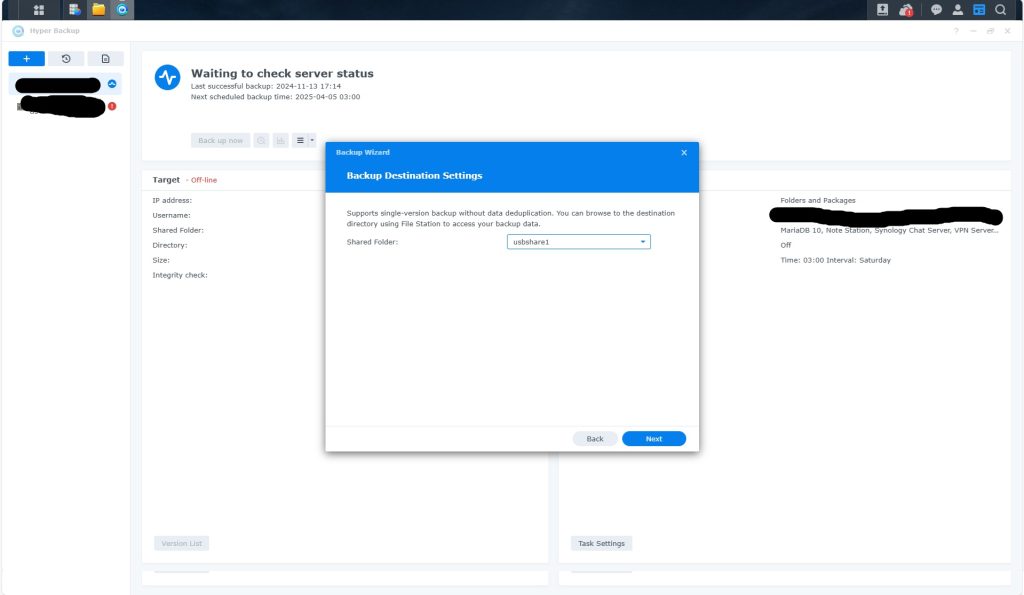
STEP 7
Select backup Destination. this is going tobe on a usb drive but you can select another folder of the nas or even mount a folder from another system.
STEP 8
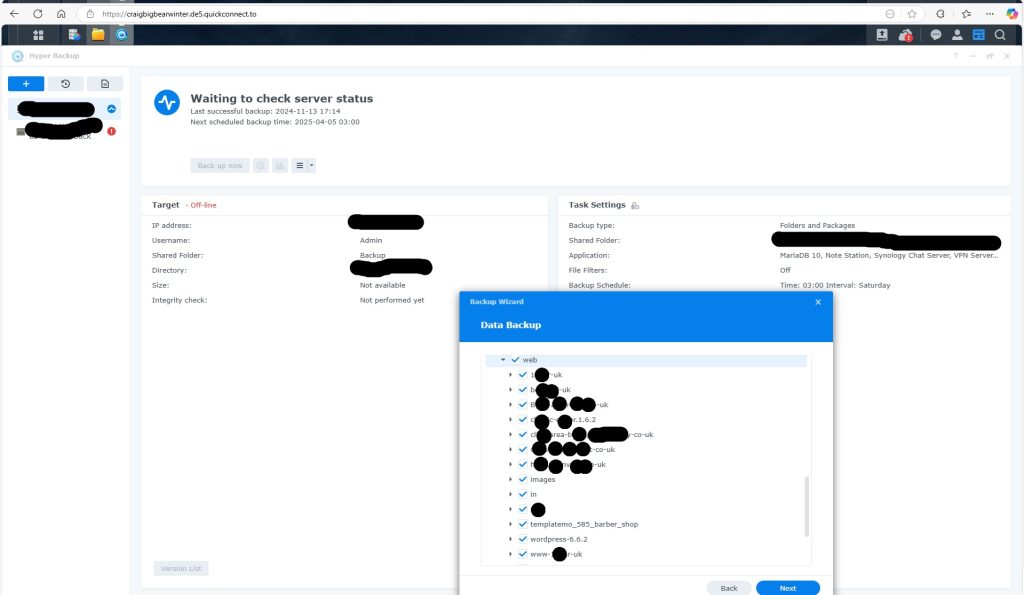
I am creating a new backup task for my websites, so in the picture below you will see my Web Folder and i have selected all of the folders but you can select the folders individually.
STEP 9
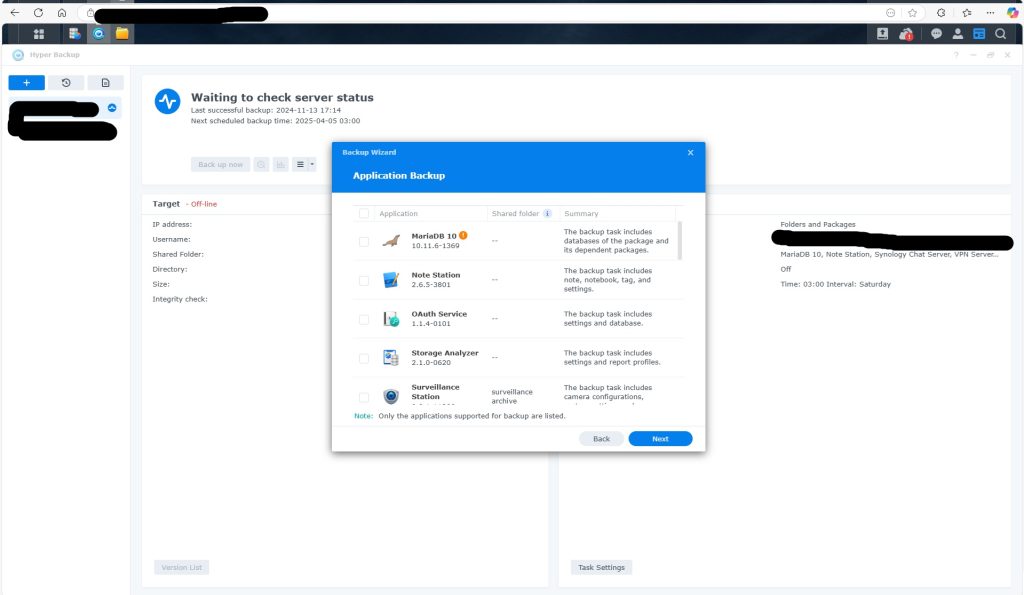
in this section there is 4 main applications that will need backing up with the folders
1 – MariaDB 10
2 – Hyper Backup
3 – Web station
4 – WebDav Server
You can also backup all web Applications/Packages and your WordPress database. Hyper Backup will be backing up your MariaDB 10 with all WordPress databases inside it.
STEP 10
Backup Settings here you can choose a number of things. most importantly make sure your tasks and directory is correct. i set mine to 0300 on Wednesday to run but you can set a number of ways to run your backup. remember to enable task notification. so you will be informed when the task is complete or any issues.
STEP 11
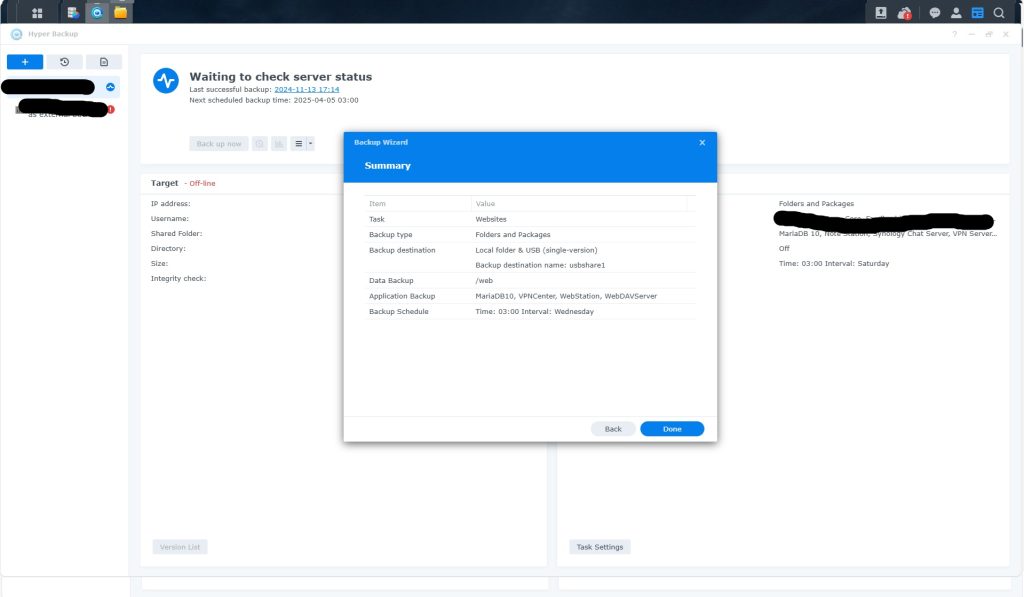
Backup Summary is the last thing to check before you hit backup. so double check all the details are correct.
STEP 12
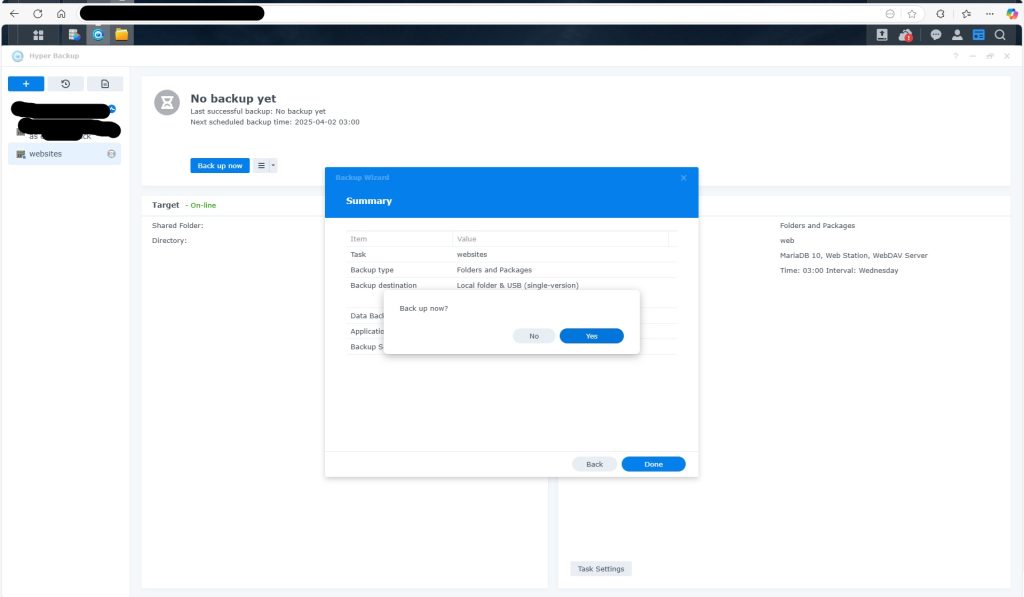
And now the last thing, Run the BACKUP
Some Side notes to make
Note: It is mandatory to have an UPS attached to your Synology NAS. Note: Each backup lasts 10 minutes maximum. Note: You can set up notifications on your email or mobile phone after a backup is completed. Note: When MariaDB 10 is backing up, your website will not be available for a few seconds. This is something that Synology could improve in the future. Note: All backups will include your WordPress entry folder and your Database. Remember: the database of your WordPress is inside MariaDB.


Leave a Reply